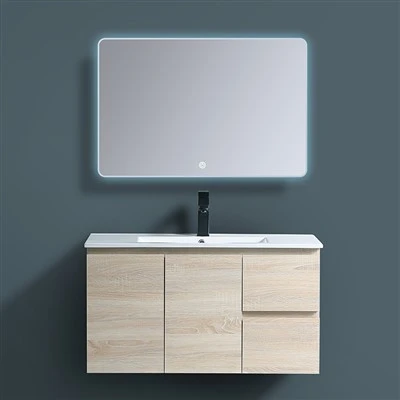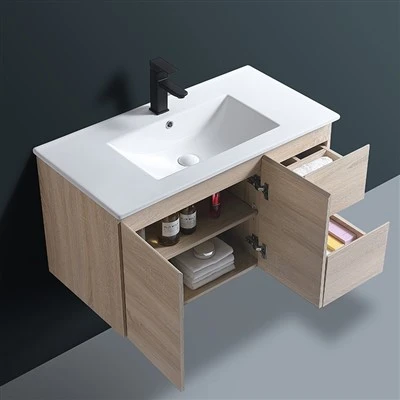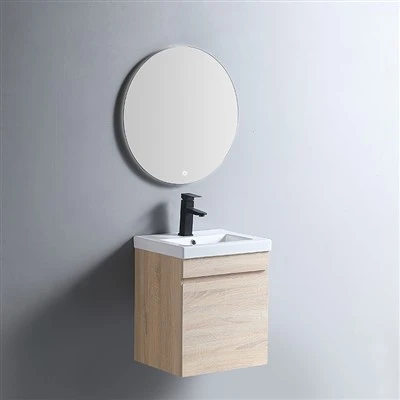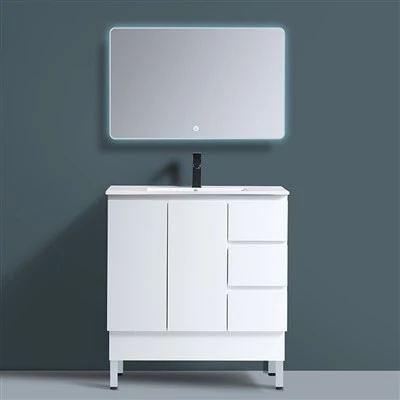

Wall-mount vessel sinks supported by stainless steel frames have become the standard specification for commercial restrooms in office buildings, retail centers, and hospitality projects. They eliminate the floor footprint of a vanity cabinet, simplify under-sink cleaning, and deliver a modern architectural aesthetic that architects and interior designers specify repeatedly.
For plumbing contractors and installation teams, these systems present specific technical challenges. A floor-mounted vanity conceals its installation errors behind cabinet doors. A wall mount vessel sink with frame has no such cover - every millimeter of misalignment, every improperly seated gasket, and every under-specified anchor is visible and functionally consequential.
This guide covers the three critical phases of industrial bathroom sink installation: wall load assessment, frame leveling and anchor selection, and leak prevention at all connection points.
The single most common cause of wall-mount sink failure is not the sink. It is the wall that supports it. A fully loaded commercial vessel sink - basin, water, user leaning weight - exerts over 150 kg of static load and significantly more in dynamic force. If the wall structure cannot carry this load, the installation fails regardless of frame quality.
Wall Construction Types and Load Capacity
| Wall Type | Load Capacity (per anchor point) | Frame Compatibility |
|---|---|---|
| Concrete/masonry (solid) | 200+ kg | Direct anchor, no backing required |
| Concrete block (hollow) | 80–120 kg | Requires epoxy-set anchors or through-bolts |
| Steel stud + drywall | 30–50 kg | Requires 18mm plywood backing between studs |
| Timber stud + drywall | 60–90 kg | Requires 18mm plywood backing or cross-blocking |
| Drywall only (no stud backing) | Not rated | DO NOT INSTALL - frame must span studs |
The Plywood Backing Specification
For steel-stud and timber-stud walls - the most common commercial construction types - the mandatory preparation is installing a 18mm structural plywood panel between studs behind the finished wall surface. This backing must:
- Span a minimum of two stud bays (typically 800–900mm wide)
- Be secured to each stud with minimum four #12 wood screws or self-tapping metal screws per stud
- Extend 150mm beyond the frame mounting bracket footprint on all sides
- Be installed flush with the front face of the studs before drywall goes up
⚠️ Critical Warning:
Without this backing, the mounting frame's load concentrates on the drywall screws alone. Those screws pull through within months of service - we have documented failures at 4, 6, and 11 months post-installation in retrofit projects where the backing was omitted.
Pre-Installation Verification Checklist
Before unpacking the frame:
- Confirm wall type: Use a stud finder and test-drill a small pilot hole to verify stud material and spacing.
- Verify backing: If the wall is already finished, locate the plywood backing using a stud finder set to deep-scan mode. Its edges should be detectable 150mm beyond the frame outline.
- Check level: Place a 1200mm spirit level vertically against the wall at the planned mounting location. Any deviation exceeding 3mm over the frame height requires shimming or wall surface correction before frame installation.
- Confirm plumbing rough-in: Verify that supply lines exit the wall within the frame's designated cutout zone and that the drain rough-in height matches the sink's trap arm elevation.
2. Frame Leveling and Hardware Anchor Selection
The stainless steel frame is the structural core of the installation. It transfers all loads from the sink to the wall. Its installation precision directly determines whether the sink sits level, drains properly, and remains securely attached for decades.
Frame Assembly and Marking
Most commercial wall-mount vessel sink frames arrive partially assembled. Complete the assembly on the floor first, then:
- Position the assembled frame against the wall at the specified mounting height. Commercial ADA-compliant installations require the sink rim at 864mm (34 inches) above finished floor.
- Mark all mounting hole locations through the frame bracket holes using a pencil or center punch.
- Remove the frame and verify all marks are level using a laser level or 1200mm spirit level.
Anchor Selection by Wall Type
The anchor type is determined by the wall substrate. Using the wrong anchor produces installation failure - there is no universal anchor.
Concrete/Masonry Walls:
- Use M10 or 3/8-inch wedge anchors or sleeve anchors
- Minimum embedment depth: 50mm
- Minimum edge distance: 75mm from any masonry edge
- Torque to manufacturer specification (typically 40–55 N·m)
Steel Stud Walls with Plywood Backing:
- Use #14 or 1/4-inch self-tapping metal screws with flat washers
- Minimum penetration through stud: 25mm (3 full threads beyond the stud)
- Minimum 4 screws per bracket, evenly distributed
- Do NOT use drywall anchors or toggle bolts - they fail under cyclic loading within the first 5,000 cycles
Timber Stud Walls with Plywood Backing:
- Use #14 or 5/16-inch lag screws with flat washers
- Minimum penetration into stud: 50mm
- Pre-drill pilot holes at 70% of screw diameter to prevent stud splitting
- Minimum 4 lag screws per bracket
Leveling Sequence
- Position the frame and insert all top-row anchors loosely (finger-tight only).
- Place a spirit level across the frame's horizontal mounting bar. Adjust frame position until the bubble reads dead center.
- Tighten top-row anchors to 50% of final torque.
- Insert bottom-row anchors loosely.
- Re-check level across the horizontal bar and adjust if needed.
- Tighten all anchors to full torque in a cross-pattern sequence.
- Re-check level one final time before mounting the sink basin.
💡 A frame out of level by 1mm over a 600mm span causes visible uneven water pooling in the basin. Water must drain completely toward the drain opening - not collect along one edge.
3. Preventing Common Leak Points
Water damage from a leaking wall-mount sink installation affects wall cavities, floor decking, and the ceiling of the floor below. In commercial buildings, the liability cost of a single undetected leak often exceeds the entire fixture budget.
Drain Assembly Sealing
The drain connection is the highest-risk leak point. The sealing sequence:
- Apply a continuous bead of 100% silicone sealant to the underside of the drain flange.
- Insert the drain flange into the sink's drain opening.
- From beneath, slide the rubber compression gasket onto the drain body, followed by the friction washer and lock nut.
- Hand-tighten the lock nut, then tighten an additional quarter-turn with a drain wrench. Over-tightening distorts the rubber gasket and creates leak paths that worsen with each successive tightening attempt.
- Wipe excess silicone from the flange perimeter. The visible seal should be a clean 2–3mm bead.
Supply Line Connections
Braided stainless steel supply lines are standard for commercial installations because of their burst resistance and flexibility during fixture servicing:
- Use lines rated for minimum 125 PSI working pressure and 60°C temperature.
- Hand-tighten compression nuts onto shutoff valves, then tighten an additional half-turn with a wrench. Do not use pipe dope or thread tape on compression fittings - the seal comes from the ferrule, not the threads.
- After connections are complete, open shutoff valves slowly to avoid water hammer shock.
Silicone Seal at Wall Interface
The final water barrier is the silicone bead between the sink's back edge and the finished wall surface:
- Use 100% neutral-cure silicone. Acrylic caulk shrinks and separates within 6 months.
- Apply a continuous 5mm bead along the entire back edge where the sink meets the wall.
- Tool the bead smooth with a wet finger or silicone smoothing tool within 3 minutes of application.
- Allow 24 hours cure time before exposing the installation to water.

Post-Installation Leak Test Protocol
Before turning the installation over to the general contractor:
- Fill the sink basin to overflow level and let stand for 15 minutes. Inspect all connections below with a dry paper towel - any moisture is a fail.
- Release the drain and observe the drain assembly during full-volume discharge. Check the compression gasket area for drips.
- Run hot water (60°C) for 5 minutes and re-inspect all supply connections. Thermal expansion can reveal connections that were marginal at cold temperature.
- Document the test with dated photographs of dry connections for project closeout records.
Common Installation Errors to Avoid
Field service reports across thousands of commercial installations identify these as the most frequent and costly mistakes:
❌ Skipping the plywood backing
Installing directly into drywall with toggle bolts. The failure point appears within 6–12 months as the sink sags away from the wall.
❌ Over-tightening drain nuts
Distorts the rubber gasket and creates a permanent leak path. Further tightening makes the leak worse. The only repair is gasket replacement.
❌ Using the wrong anchor type
Drywall anchors in masonry, wedge anchors in steel studs. The anchor must match the substrate.
❌ Failing to level the frame before final torque
Once all anchors reach full torque, the frame cannot be adjusted. The sink remains permanently out of level.
❌ Omitting the wall-interface silicone bead
Water from splashing and cleaning penetrates the gap between sink and wall, causing hidden mold growth and wallboard damage.
The Frame as a Structural Element
A wall-mount vessel sink installation is a three-phase engineering task: verify the wall can carry the load, mount the frame with precision, and seal every connection point against water intrusion. When each phase receives proper attention, the result is a commercial bathroom fixture that performs without maintenance intervention for 15–20 years.
For contractors specifying sink hardware across a multi-floor building, the anchor and backing protocol matters as much as the frame quality itself. A properly specified commercial vessel sink with a correctly installed stainless steel frame outlasts the building's renovation cycle. The anchors that hold it must match the substrate. The level that guides it must be calibrated. The seals that protect it must receive controlled precision at every application point.
📌 For projects that also require compact fixture layouts, see Space-Saving Bathroom Solutions for Compact Commercial Buildings - the wall-hung sink is the primary space-recovery tool in that specification.
🔧 Get Installation Technical Specifications
Need installation drawings, anchor selection tables, or on-site test checklists for wall-mount vessel sink frames? Contact Yingjie Bath's technical support team for complete installation documentation.
👉 Request Installation Specifications & Technical Support