Installing a wall-hung toilet in a corner can be a smart solution for optimizing space and achieving a modern, sleek look in your bathroom. As a wall-hung toilet supplier, I've witnessed firsthand the transformative power of these fixtures. In this guide, I'll walk you through the step-by-step process of installing a wall-hung toilet in a corner, sharing tips and insights along the way.
Step 1: Planning and Preparation
Before you start any installation project, it's crucial to plan and prepare thoroughly. Here are the key steps to take:

- Measure the Space: Carefully measure the corner where you plan to install the wall-hung toilet. Make sure there is enough space for the toilet, the carrier system, and any additional features you want to include, such as a bidet or a towel rack.
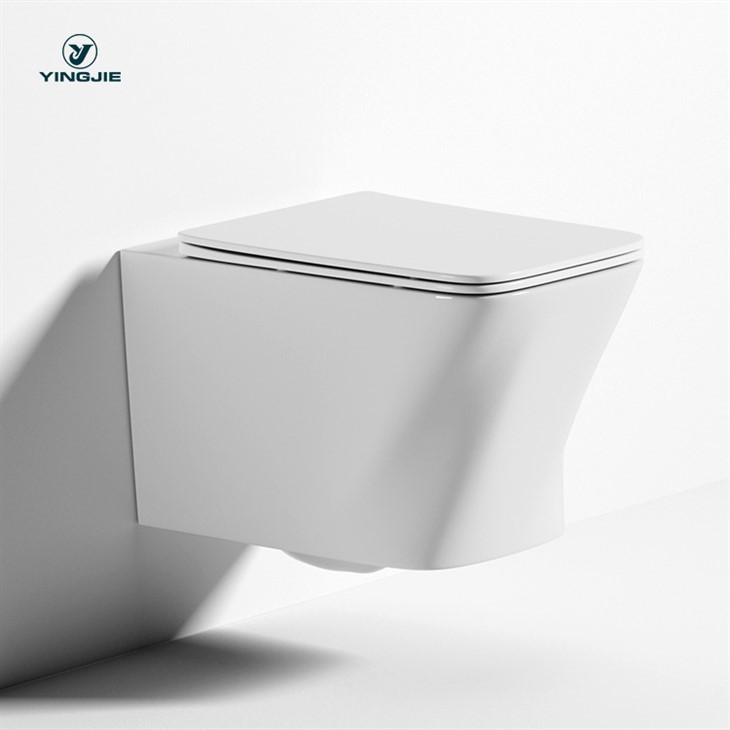
- Choose the Right Toilet: Select a wall-hung toilet that fits the dimensions of your corner and meets your specific needs. Consider factors such as the size, shape, style, and flushing mechanism of the toilet. You can explore our range of wall-hung toilets, including the Sleek Minimalist Design Wall Hung Toilet and the Space-Saving Wall-Mounted Toilet Design, to find the perfect fit for your bathroom.
- Gather the Tools and Materials: Collect all the necessary tools and materials for the installation, including a drill, a level, a tape measure, a wrench, a hacksaw, a pipe cutter, a sealant, a silicone gun, and the wall-hung toilet kit. Make sure you have everything you need before you start the installation to avoid any delays.
- Turn Off the Water Supply: Before you begin the installation, turn off the water supply to the bathroom. This will prevent any water from leaking during the installation process.
Step 2: Install the Carrier System
The carrier system is the framework that supports the wall-hung toilet and attaches it to the wall. Here's how to install the carrier system:
- Mark the Wall: Use a level and a tape measure to mark the position of the carrier system on the wall. Make sure the marks are straight and level, and that they are at the correct height for the toilet.
- Drill the Holes: Use a drill to make holes in the wall at the marked positions. Make sure the holes are the correct size and depth for the wall plugs and bolts that will be used to attach the carrier system to the wall.
- Insert the Wall Plugs: Insert the wall plugs into the holes in the wall. Make sure the wall plugs are flush with the surface of the wall.
- Attach the Carrier System: Place the carrier system against the wall and align it with the holes in the wall. Insert the bolts through the holes in the carrier system and into the wall plugs, and tighten them with a wrench. Make sure the carrier system is securely attached to the wall and that it is level.
- Connect the Water Supply and Drain Pipes: Connect the water supply and drain pipes to the carrier system according to the manufacturer's instructions. Make sure the pipes are properly sealed and that there are no leaks.
Step 3: Install the Toilet Bowl
Once the carrier system is installed, you can install the toilet bowl. Here's how to do it:
- Position the Toilet Bowl: Carefully place the toilet bowl on the carrier system and align it with the bolts. Make sure the toilet bowl is level and that it is centered on the carrier system.
- Insert the Bolts: Insert the bolts through the holes in the toilet bowl and into the carrier system, and tighten them with a wrench. Make sure the bolts are tightened securely, but not too tightly, as this could crack the toilet bowl.
- Seal the Toilet Bowl: Apply a bead of sealant around the base of the toilet bowl where it meets the carrier system. This will prevent any water from leaking between the toilet bowl and the carrier system.
- Connect the Water Supply and Drain Pipes: Connect the water supply and drain pipes to the toilet bowl according to the manufacturer's instructions. Make sure the pipes are properly sealed and that there are no leaks.
Step 4: Install the Toilet Seat
After the toilet bowl is installed, you can install the toilet seat. Here's how to do it:
- Position the Toilet Seat: Place the toilet seat on the toilet bowl and align it with the holes in the toilet bowl. Make sure the toilet seat is level and that it is centered on the toilet bowl.
- Insert the Bolts: Insert the bolts through the holes in the toilet seat and into the toilet bowl, and tighten them with a wrench. Make sure the bolts are tightened securely, but not too tightly, as this could crack the toilet bowl.
- Attach the Hinges: Attach the hinges to the toilet seat and the toilet bowl according to the manufacturer's instructions. Make sure the hinges are properly aligned and that they are tightened securely.
Step 5: Test the Toilet
Once the toilet is installed, it's important to test it to make sure it is working properly. Here's how to test the toilet:
- Turn On the Water Supply: Turn on the water supply to the bathroom and let the toilet fill with water.
- Flush the Toilet: Flush the toilet to make sure the flushing mechanism is working properly. Make sure the water drains quickly and completely from the toilet bowl.
- Check for Leaks: Check for any leaks around the base of the toilet bowl, the water supply and drain pipes, and the carrier system. If you find any leaks, tighten the bolts or seals as necessary.
Step 6: Finishing Touches
After the toilet is installed and tested, you can add some finishing touches to make your bathroom look even better. Here are some ideas:
- Install a Bidet or a Towel Rack: Consider installing a bidet or a towel rack next to the wall-hung toilet to add functionality and convenience to your bathroom. You can explore our range of wall-hung toilets, including the SS304 WC Wall Hung Waterless Bathroom Urinal, to find the perfect accessory for your bathroom.
- Add Some Decorative Elements: Add some decorative elements to your bathroom, such as a mirror, a painting, or a plant, to make it look more inviting and comfortable.
- Clean the Toilet: Clean the toilet thoroughly to remove any dirt, debris, or fingerprints. Use a mild cleaner and a soft cloth to clean the toilet bowl, the toilet seat, and the carrier system.
Conclusion
Installing a wall-hung toilet in a corner can be a challenging but rewarding project. By following these steps and tips, you can install a wall-hung toilet in a corner like a pro. If you have any questions or need further assistance, please don't hesitate to contact us. We're a leading wall-hung toilet supplier, and we're here to help you find the perfect toilet for your bathroom and to provide you with the support and guidance you need throughout the installation process. Whether you're a homeowner, a contractor, or a designer, we're committed to providing you with the highest quality products and services at competitive prices. Contact us today to learn more about our wall-hung toilets and to start your next bathroom project.
References
- "Wall-Hung Toilets Installation Guide." Manufacturer's Manual.
- "Bathroom Design and Installation Best Practices." Industry Publication.